nullprogram.com/blog/2007/12/19/

While studying for my digital image processing final exam yesterday, I
came back across unsharp masking. When I first saw this, I thought
it was really neat. This time around, I took the hands-on approach and
tried it myself in Octave. It has been used by the publishing and
printing industry for years.
Unsharp masking is a method of sharpening an image. The idea is this,
- Blur the original image.
- Subtract the blurred image from the original, creating a mask.
- Add the mask to the original image.
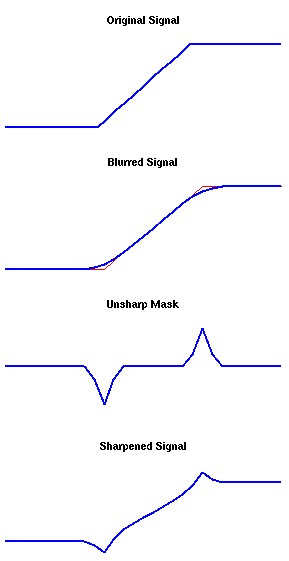
Here is an example using a 1-dimensional signal. I blurred the signal
with a 1x5 averaging filter: [1 1 1 1 1] * 1/5. Then I subtracted
the blurred signal from the original to create a mask. Finally, I
added the unsharp mask to the original signal. For images, we do this
in 2-dimensions, as an image is simply a 2-dimensional signal.
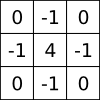
When it comes to image processing, we can create the mask in one easy
step! This is done by performing a 2-dimensional convolution with a
Laplacian kernel. It does steps 1 and 2 at the same time. This
is the Laplacian I used in the example at the beginning,
So, to do it in Octave, this is all you need,
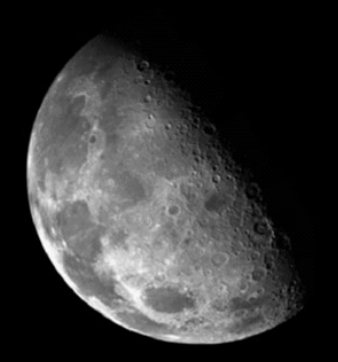
octave> i = imread("moon.png");
octave> m = conv2(i, [0 -1 0; -1 4 -1; 0 -1 0], "same");
octave> imwrite("moon-sharp.png", i + 2 * uint8(m))
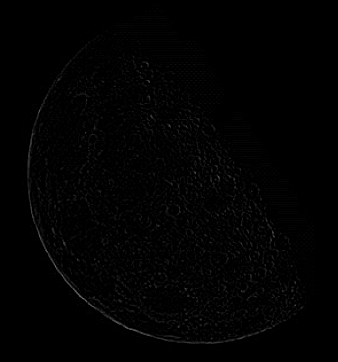
i is the image and m is the mask. The mask created in step 2 looks
like this,
You could take the above Octave code and drop it into a little
she-bang script to create a simple image sharpening program. I leave
this as an exercise for the reader.