nullprogram.com/blog/2011/10/13/
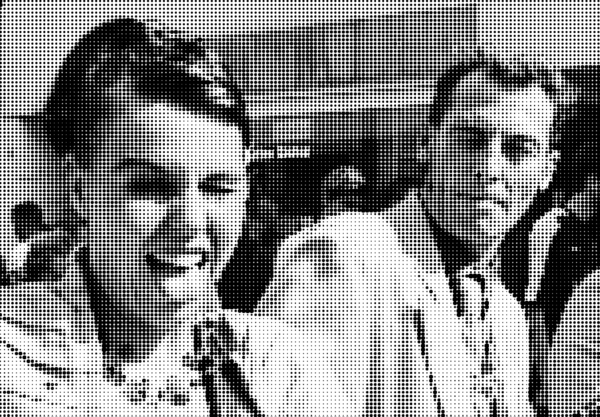
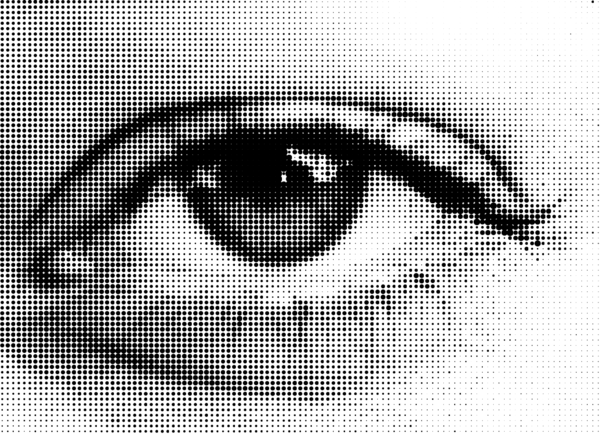
I recently toyed around with some halftone, a technique for simulating
continuous tone images using solid dots. I can’t remember what
specifically gave me the idea to try it out. Perhaps it was because it
provided a good use-case for my newly discovered hot code
replacement.

git clone git://github.com/skeeto/Halftone.git
Halftone dates back to the 19th century and was the first low-cost
method for printing images because it didn’t require highly skilled
artists. What made it so inexpensive was that producing the relief
surface was an entirely mechanical process. Light is projected through
a negative, through a mesh screen, and onto a plate containing light
sensitive chemicals. Brighter parts of the image would form larger
spots and dimmer parts smaller dots. The chemical on the plate would
react to the light and rise up very slightly. The plate is then inked
and used for printing.
Halftone printing is still used today, but, of course, the process for
generating the halftone version of an image is all done with
computers. Digital halftoning. Digital halftoning provides several
different ways to arrange the dots: by size (amplitude modulation), by
spacing (frequency modulation), by shape, or any combination of
these. In my little demo above I took the simplest route, by size.

I scale the image down using bicubic interpolation (thanks to the
handy
AffineTransform). With
it scaled down, each pixel becomes a single dot in my final
image. Since I want the dots to fully fill their space at the most
extreme, their maximum radius is the square root of two times the
spacing. That is, the dots will just touch on the diagonal when
full. To determine magnitude of the dot I used the [luma
coefficients](http://en.wikipedia.org/wiki/Luma_(video%29). That makes
the RGB values weighted more accurately to the way human sight
perceives brightness.
Rotating the image would be an improvement over the flat grid it is
now. A 45-degree rotation helps break up potential patterns. I tried
to do this, but I couldn’t get the math right along with the correct
parameters to the AffineTransform. Something was always getting
clipped or padded incorrectly. Adding CMYK color would also be
interesting, and would also require rotation of the dot grid — each
color gets its own angle.
I also thought about having it dump out the image in vector form as a
SVG or PostScript, which would make it start to behave like The
Rasterbator. With that output, it
would only need to split up that output into normal-sized pages and I
could use it to produce large images from a cheap printer.